
Yes, you can absolutely cut acrylic with a laser cutter. In fact, it’s one of the most effective and popular methods available for this material. The process utilizes a focused laser beam to cleanly vaporize the acrylic, resulting in incredibly precise cuts with smooth, often polished edges that require little to no finishing. For this task, a CO2 laser cutter is the most suitable and universally effective machine.
This guide will walk you through everything you need to know, from the benefits of this process and the necessary tools to a step-by-step tutorial and crucial safety precautions.

Why Use a Laser to Cut Acrylic?
So, why has laser cutting acrylic become the go-to method for hobbyists and professionals alike? The advantages are clear.
- High Precision & Clean Edges: Laser cutting is a non-contact process. The laser beam melts and vaporizes the material without any mechanical force, eliminating stress on the acrylic. This results in exceptionally clean, smooth edges. With the right type of acrylic, you can achieve a stunning “flame-polished” finish directly from the machine.
- Unmatched Design Complexity: The pinpoint accuracy of a laser beam allows for the creation of intricate patterns, sharp internal corners, and detailed designs that are simply impossible to achieve with traditional cutting methods like saws or routers.
- Versatility for Cutting & Engraving: The same machine can perform two distinct functions. By adjusting the power and speed settings, you can either cut cleanly through an acrylic sheet or laser engrave acrylic with detailed photos, logos, and text onto its surface.
Getting Started: The Right Tools and Materials
Before you can begin your project, you need to ensure you have the correct equipment and the right type of acrylic for your specific goal.
The Right Machine: Why CO2 Lasers are Essential
When it comes to acrylic, not all lasers are created equal. A CO2 laser for acrylic is the industry standard. These machines produce an infrared light wavelength (around 10,600 nm) that is perfectly absorbed by all colors of acrylic, including clear sheets. This absorption is what allows the laser to melt and vaporize the material effectively.
Diode lasers, often found in smaller, more budget-friendly desktop units, have significant limitations. Their light wavelength is not readily absorbed by clear or blue-colored acrylic. While they might be able to cut certain dark and opaque acrylic sheets for laser cutting, they are not a reliable or versatile solution for the full range of acrylic materials.
The Right Material: Cast vs. Extruded Acrylic
One of the most critical decisions you’ll make is choosing between cast and extruded acrylic. While they may look identical, they are manufactured differently, which drastically affects how they react to the laser.
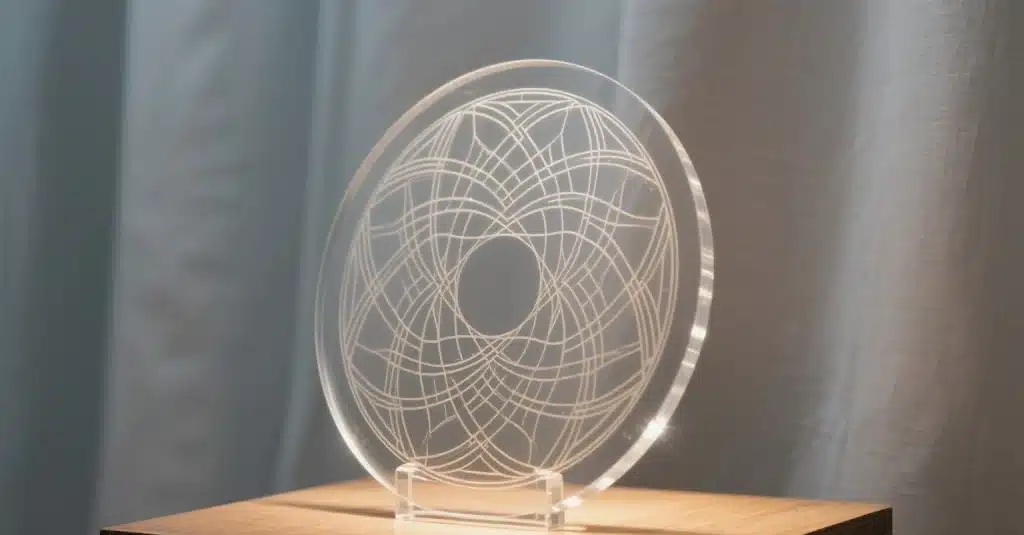
For Engraving, Choose Cast Acrylic: When you laser engrave acrylic, cast sheets are the superior choice. The laser interacts with the material to produce a beautiful, high-contrast, frosty white finish. This makes it the ideal material for awards, engraved photos, and detailed signage.
For Cutting, Choose Extruded Acrylic: If your primary goal is cutting, extruded acrylic is often preferred. It melts in a way that creates a desirable, clear, glossy, “flame-polished” edge. It’s also more uniform in thickness and generally more budget-friendly than cast acrylic.
Here’s a simple breakdown:
| Feature | Cast Acrylic (GS) | Extruded Acrylic (XT) |
| Laser Cut Edge | Matte, clean finish. | Clear, flame-polished edge. |
| Laser Engraving | High-contrast, frosty white. | Clear, less-contrasting engraving. |
| Cost | More expensive. | More budget-friendly. |
| Best For | Cutting, structural parts, and projects where a polished edge is desired. | Cutting, structural parts, projects where a polished edge is desired. |
A Step-by-Step Guide to Laser Cutting Acrylic
Ready to make your first cut? Follow these steps for a successful and safe experience.
Step 1: Create Your Digital Design
Your laser cutter needs a digital blueprint to follow. This comes in the form of a vector file, which is essentially a map of lines and curves.
- File Formats: The most common vector file types are SVG, AI, DXF, and PDF.
- Software: You can create these files using software like Adobe Illustrator (a professional standard), Inkscape (a powerful free alternative), or directly within your laser’s control software, such as LightBurn.
- Key Design Tip: For lines that you intend to cut, you must set the stroke or line width to a very thin setting, often called a “hairline.” A common value is 0.025mm or 0.001 inches.
Step 2: Prepare the Machine and Material
Preparation is key to a clean and safe cut.
- Clean the Acrylic: Gently wipe your acrylic sheet with a clean, soft microfiber cloth to remove any dust or debris.
- The Protective Film: Most acrylic sheets come with a protective film on both sides. If it’s a paper-based masking, it’s best to remove it, as it can be a fire hazard. If it’s a plastic film, you can often leave it on during the cut to protect the acrylic surface from scratches and flashback marks from the laser bed.
- Ensure Flatness: Your acrylic sheet must lie perfectly flat on the laser bed. If it’s warped or bowed, the laser will go in and out of focus, leading to an inconsistent cut. Use small magnets or hold-down pins to secure it flat if necessary.
Step 3: Dial in Your Laser Cutting Acrylic Settings
The magic happens when you find the perfect balance of settings. The “big three” are Power, Speed, and Frequency.
- Power: This determines the cutting energy of the laser beam. A good starting point is to use approximately 10 watts of power for every 1mm of acrylic thickness.
- Speed: This is how fast the laser head moves. For a high-quality, polished edge on extruded acrylic, a slower speed (around 10-15 mm/s) is often recommended. Slower speeds are needed for thicker materials, while you can go faster for thinner sheets.
- Frequency (The Pro Tip): This setting, also known as PPI (Pulses Per Inch), is crucial for edge quality. For a smooth, flame-polished edge on extruded acrylic, use a low frequency (typically under 5,000 Hz). For cast acrylic, a high frequency (10,000-20,000 Hz) will yield a clean, matte edge.
- Focus: Correct laser focus is non-negotiable for a clean cut. Use your machine’s autofocus feature if it has one. For thicker materials (over 6mm), you can sometimes improve the straightness of the cut edge by manually setting the focus point to about one-third of the way into the material’s thickness.
Step 4: Always Run a Test Cut
This is the most important step for preventing wasted material. Before you run your main job, use a small scrap piece of the exact same acrylic sheet to run a small test cut (a one-inch square is perfect). This allows you to verify that your settings are correct without risking your final workpiece.

Step 5: Execute the Cut and Finish the Part
Now it’s time for the main event.
- Monitor the Job: Never walk away from an operating laser. Stay and monitor the cutting process from start to finish.
- Cool Down: Once the cut is complete, let the part cool for a minute before handling, as it can be hot.
- Cleaning: To clean your finished piece, use mild dish soap and lukewarm water with a soft, non-abrasive cloth. Crucially, never use alcohol, ammonia, or other harsh chemical cleaners (like Windex) on acrylic. These chemicals can cause the material to develop tiny stress fractures, a phenomenon known as “crazing,” which will ruin the appearance of your part.
Safety First: Essential Precautions for Laser Cutting Acrylic
Acrylic laser cutting safety is paramount. The process involves high heat and produces hazardous fumes that must be managed properly.
Fume Extraction: Protecting Your Lungs
When acrylic is vaporized by a laser, it releases fumes, primarily Methyl Methacrylate (MMA), which can be harmful to your respiratory system.
- Mandatory Extraction: A high-quality fume extraction system that vents all fumes and particles to the outside is an absolute requirement, not an option.
Fire Prevention: A Clean Machine is a Safe Machine
You are working with a high-powered heat source and a flammable material.
- The #1 Rule: NEVER leave an operating laser cutter unattended.
- Keep it Clean: Regularly clean the cutting bed (honeycomb or slat table) and the interior of your machine. Residue and small off-cuts can build up and become a significant fire hazard.
- Fire Extinguisher: Keep a CO2 fire extinguisher within easy reach of the machine. Do not use a standard ABC dry chemical extinguisher, as the powder can destroy the sensitive optics and electronics of your laser cutter.
Personal Protective Equipment (PPE)
- Safety Glasses: Always wear safety glasses specifically rated for the wavelength of your CO2 laser (10,600 nm).
- Respirator: For added protection, especially in enclosed spaces, consider wearing a respirator fitted with organic vapor cartridges.
- Gloves: Use heat-resistant gloves when handling freshly cut parts.
Troubleshooting Common Acrylic Laser Cutting Problems
Even with careful preparation, you might run into issues. Here’s how to solve the most common ones.
- Problem: The laser is not cutting all the way through the material.
- Solution: Check that your laser is properly focused. Clean your laser’s mirrors and lens, as dirty optics can significantly reduce power. If those are fine, try slightly increasing the power or decreasing the speed in small increments.
- Problem: The cut edges are melted, charred, or look rough.
- Solution: This is usually a sign of too much heat being applied to one area. You can fix this by decreasing the laser power, increasing the travel speed, or checking that your frequency setting is appropriate for your material (low for extruded, high for cast). Also, ensure your air assist is on and providing a steady stream of air to the cut.
- Problem: The acrylic sheet is warping or bowing during the cut.
- Solution: The heat from the laser can cause thin material to warp. Ensure the sheet is secured flat to the cutting bed using magnets or pins. A good practice is to always perform engraving operations before cutting, as this imparts less heat into the material overall.
Conclusion
As you can see, the answer to “Can you cut acrylic with a laser?” is a resounding yes. It’s a versatile and precise manufacturing method that opens up a world of creative possibilities.
By remembering the most important points—use a CO2 laser, choose the right acrylic for your goal (cast for engraving, extruded for polished edges), prioritize safety above all else, and always start with a test cut—you are well on your way. Now you have the knowledge to start creating amazing projects with laser-cut acrylic!

FAQs
A: A CO2 laser is the best and most versatile choice for cutting all types of acrylic.
A: No. Diode lasers typically emit blue light, which passes through clear and blue acrylic without being absorbed, so it cannot cut through them.
A: Use extruded acrylic and a slow cutting speed with a low frequency setting.
A: Use a soft cloth with mild soap and water. Never use cleaners containing alcohol, as they will cause the acrylic to crack.