
This short guide shows you how laser wood engraving works. You’ll discover everything you need to know about choosing wood, getting the surface ready, making the final product look good, and fixing common problems that come up along the way. This guide is perfect for anyone starting a small business or trying out a new hobby. Just follow these steps and you’ll be ready to start.
The Basics of Laser Wood Engraving
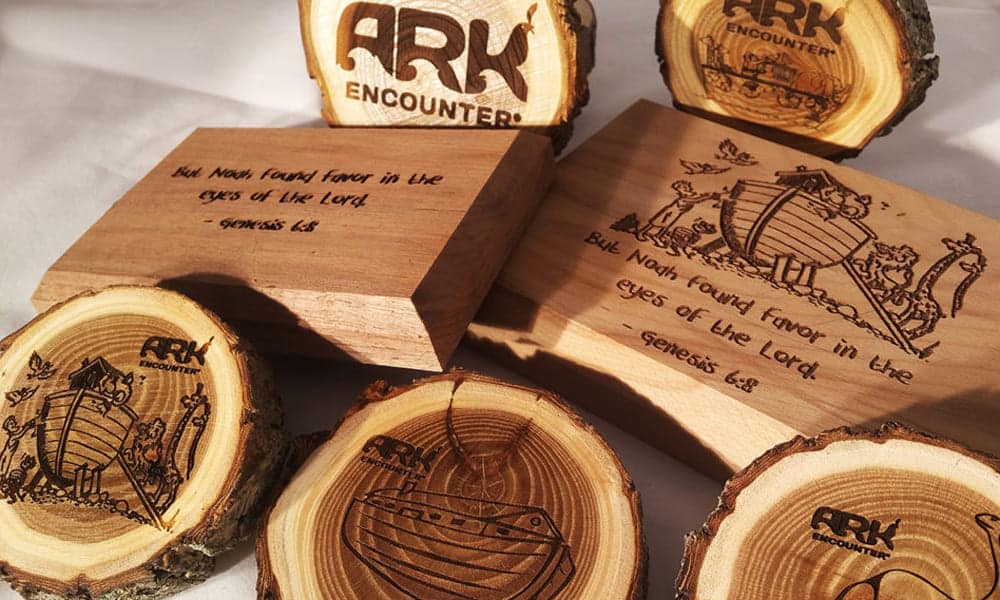
A laser burns designs into wood. The machine follows a computer file that tells it exactly where to point the laser beam, creating detailed patterns as it moves across the wooden surface. The computer program lets you make any design you want to burn into the wood. The laser moves quickly and precisely, burning small marks that come together to form your complete design.
You can control three main things about the laser. The machine lets you change how strong the laser is, how fast it moves, and how focused the beam is when it hits the wood. The laser never actually touches the wood while it works. Instead, it burns away tiny pieces to make your design stand out from the rest of the surface.
Artists love using lasers to make designs. You can create very small details that would be hard to make by hand. The process is much faster than carving wood by hand.
Speed of Laser Engraving on Wood
Simple designs don’t take long to make. A basic design with just words or a small picture might only take five minutes to complete. More detailed projects take much longer to finish. The type of wood you pick can change how long it takes.
Several things affect how fast the laser works. Stronger lasers burn faster than weaker ones, while simple designs take less time than complex ones. Hard woods take longer to burn than soft woods. Deep burns take more time than shallow ones.
Best Wood for Laser Engraving
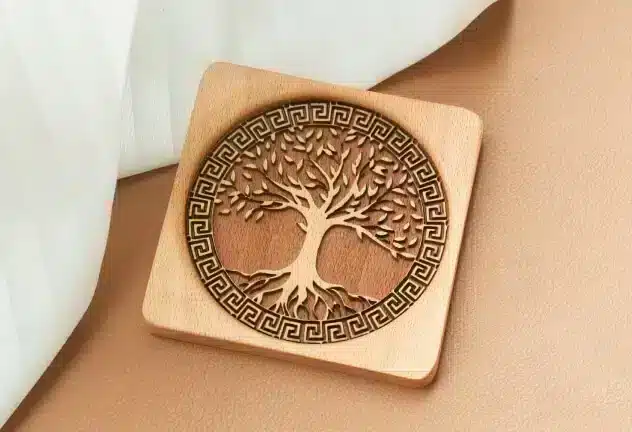
The wood you choose matters a lot. Different types of wood burn in different ways, and some look better than others when they’re done. Smooth woods with even grain patterns work best for most projects.
Here are some good woods to try:
- Basswood is soft and burns easily. It works great for most projects and won’t cost too much.
- Birch has a light color that makes designs show up clearly. The surface is smooth and takes detail well.
- Cherry gives your work a rich, warm look. The wood is smooth and shows fine details nicely.
- Maple is light in color and very consistent. You can make very detailed designs on maple.
- Alder works well for burning photos into wood. It’s soft and takes the laser well.
- Walnut is dark and looks fancy. Your designs will really stand out on walnut.
- Plywood is cheap and works well. It’s made in a factory, so the surface is very even.
- Poplar is soft and light in color. It’s a good choice if you want to save money.
Test your wood before starting a big project. Make a small design first to see how it looks. Light-colored woods usually show burns better than dark ones.
How to Seal Wood Before Engraving
Sealing wood makes your designs look better. Before you start burning designs into the wood, you need to protect its surface with a clear coating that won’t change the wood’s natural look. Clean the wood first. Using a soft cloth, wipe off any dust or oil that might be on the surface.
Make the wood smooth with fine sandpaper. Now spread a thin layer of clear sealer all over the area where you plan to burn your design. Wait for the sealer to dry completely. Check how long it needs to dry by reading the label on the bottle.
Sometimes the sealer makes little wood fibers stick up. If this happens, lightly sand the wood again to make it smooth. Before you start burning your design, wipe off any dust with a clean cloth.
Adding Color to Wood Designs
You can make your designs pop with color. Pick out paint, wood dye, or stain that will stand out against the wood’s natural color. Make sure your wood is clean by brushing away any dust or dirt. Take your time putting the color into the burned areas with a small brush.
Sometimes color gets where you don’t want it. Just wipe off any extra paint with a slightly wet cloth. Let everything dry according to what it says on the paint bottle. You can add a clear coat on top to protect the color if you want.
Making Designs Look Darker
Sometimes your design needs to be darker to stand out. You can make the laser burn deeper by turning up its power and slowing it down. Some woods, like cherry and walnut, naturally burn darker than others. Try staining the wood dark before you burn your design.
After burning, you can fill in the design with dark wax. You could also use special liquids that make the wood darker, but test them first on a spare piece. Paint or ink works too – just brush it into the burned areas and wipe off any extra.
How to Clean Wood After Laser Engraving
Your wood might look dirty after burning. Use a soft brush to sweep away loose bits and dust. Wipe the wood gently with a slightly damp cloth to remove black marks. Mix a tiny bit of soap with water if the marks won’t come off.
Pat the wood dry with a clean cloth. Let it sit until it’s completely dry. If some marks still won’t come off, you can try very light sanding. When you’re done, wipe everything one last time with a clean, dry cloth.
How to Remove Char After Laser Engraving
When carving patterns into wood, black marks often appear. You can clean up these marks in several different ways while keeping the pattern safe and clear on the wood. Simply lightly sand the black areas with fine sandpaper. Use a soft brush or dry cloth to wipe away any loose black dust from the wood.
If the marks are stubborn, try wiping them with a slightly damp cloth. Don’t use too much water or you may damage the wood. If the marks are really hard to remove, mix a small amount of detergent in the water. Test your cleaning method on a small area before cleaning the whole piece of wood.
Making Pictures for Wood Burning
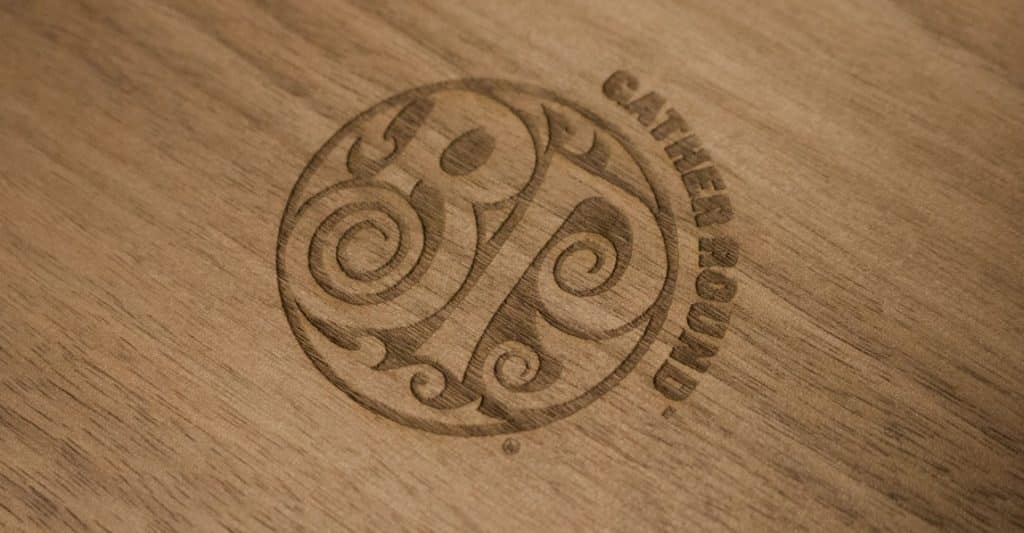
You can make new pictures or change existing pictures for wood burning. Open the drawing program you prefer to use. Look at your wood carefully before you start drawing. Some patterns on the wood may affect the effect of your design.
Keep the design simple and straightforward. Change the picture to black and white so you can see how it will look when it is burned. Make sure all the lines in the design are thick enough for the machine to operate. Most programs allow you to preview your design before burning.
Conclusion
Using a laser to burn wood allows you to make an accurate design quickly. The machine will burn a small portion of the wood to create the image and text. Pick a good piece of wood and prepare it the right way. Your work will look better if you protect the wood first and clean it after burning.
This guide shows you how to start carving patterns into wood. We show you how to prepare the wood, create the design and complete the project. These steps help to solve common problems that arise. Now you can start your own projects with more confidence. You can use these methods to make custom artwork, signs and gifts. Start by trying out your design on a spare piece of wood. Keep tweaking until everything looks just right. Follow each step carefully to make your work look professional.
This guide helps you get started with wood burning. The steps are easy to learn and the advice works in real life. Use what you learn to produce better work and have fun creating. Good luck with your wood burning!